Almost a year ago I published a post in which, I wrote about the installation of Docker and Docker Compose using the versions available in the Debian’s repositories.
This time, I will describe the proper way to install Docker and Docker Compose in Debian according to its official documentation.
In addition, I will cover the configuration of the rootless mode so that containers can be run without root privileges.
Those of you who do not have Debian, should check the Docker Engine’s official documentation and follow the instructions for other systems.
⚠️ DISCLAIMER: Please note that this article is a manual translation of the Spanish version. The screenshots may have been originally taken in Spanish, and some words/names may not match completely. If you find any errors, please report them to the author. ⚠️
Requirements
- 64 bits Debian 12. Debian 11 also seems to be supported at the time of publication of this post.
aptas the package manager in your system.- Being able to run commands as
root(either asrootuser directly, or withsudoordoas). In my case I will do it asroot(usingsu).
Things to keep in mind
-
If you use
ufworfirewalldto manage firewall settings, be aware that when you expose container ports using Docker, these ports bypass your firewall rules. For more information, refer to Docker and ufw. -
In this post I will use the Docker and Docker Compose versions recommended by the official documentation, which involves adding the Docker GPG key and repository to
aptsources file. -
With this method, Compose will be installed as a Docker plugin, so in order to run it we will not use
docker-compose, butdocker compose, that is, removing the hyphen-. If we do not do it this way, it will give us an error as the command will not be found.
Dependencies and preparations
⚠️ Before proceeding, we must uninstall any non-official Docker version from the system. According to the documentation, this command will suffice: ⚠️
su -

for pkg in docker.io docker-doc docker-compose podman-docker containerd runc; do apt remove $pkg; done
In the official documentation sudo is used to run the following commands, I will run them directly as root (using su -) since I do not have sudo installed on my systems, but you can use the option you prefer.
-
First, we update the list of available packages:
su -

apt update
I recommend you to also update the system packages, this is not indicated in the official documentation, but I think it can save you from potential problems:
apt upgrade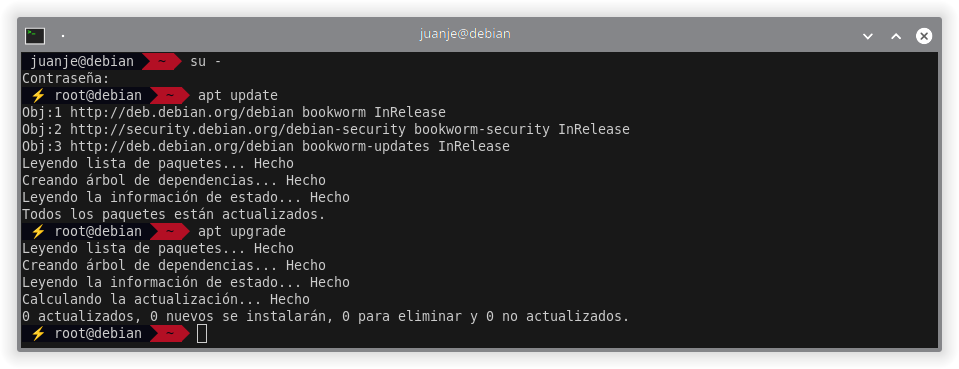
-
Then, we install the necessary dependencies:
apt install ca-certificates curl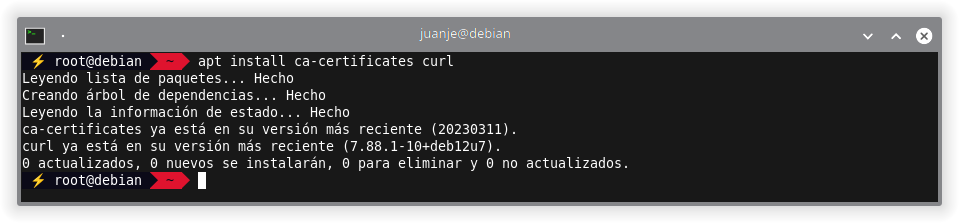
-
Add the Docker GPG key with its corresponding permissions:
install -m 0755 -d /etc/apt/keyrings

curl -fsSL https://download.docker.com/linux/debian/gpg -o /etc/apt/keyrings/docker.asc

chmod a+r /etc/apt/keyrings/docker.asc

ls -l /etc/apt/keyrings/docker.asc
-
Add the Docker repository to
aptsources and update the database to include the packages from the new repository:echo \ "deb [arch=$(dpkg --print-architecture) signed-by=/etc/apt/keyrings/docker.asc] https://download.docker.com/linux/debian \ $(. /etc/os-release && echo "$VERSION_CODENAME") stable" | \ tee /etc/apt/sources.list.d/docker.list > /dev/null apt updateThe backslashes
\at the end of each line indicate that the command continues on the next line despite the line break.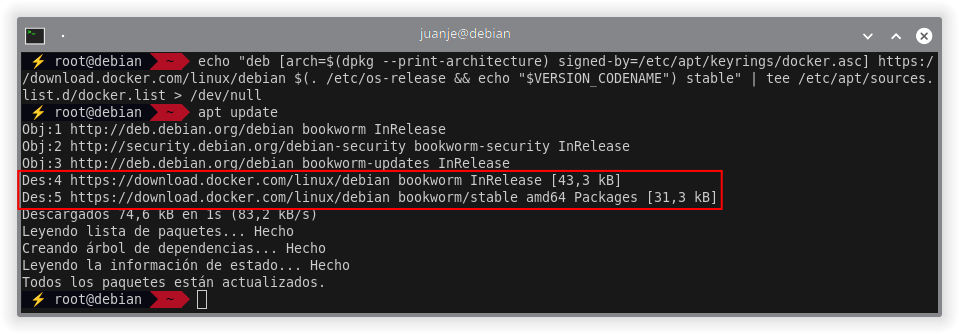
Docker and Docker Compose installation
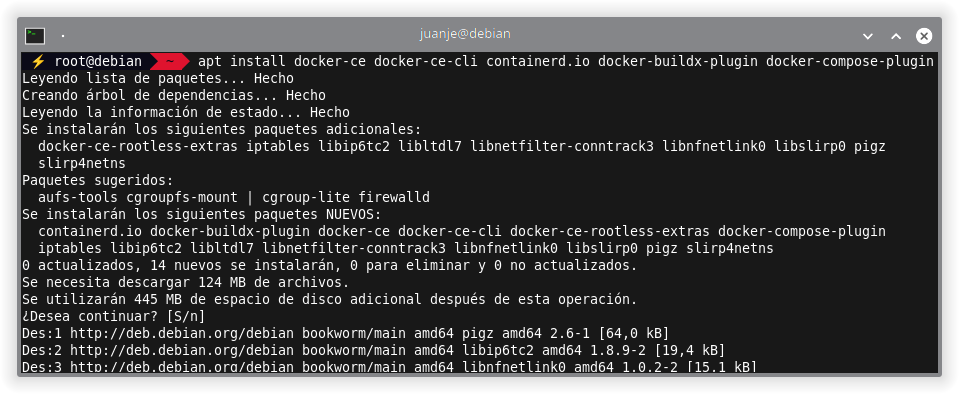
Once the repository has been added and the database updated, we can install the main packages:
apt install docker-ce docker-ce-cli containerd.io docker-buildx-plugin docker-compose-plugin
We can check that they have been installed correctly with:
docker --version

docker compose version

At this point, we have Docker and Docker Compose installed and working correctly.
Next, we can choose between two options to run docker with our user without needing to act as root:
-
Through the
dockergroup: this option is the simplest, but it will also give the containersrootprivileges. We can learn more about this option in Manage Docker as a non-root user. -
Using rootless mode: this option is safer, as the containers will not have
rootprivileges on the host system. This is the option I will explain in the next section. More information at Rootless mode | Docker Docs.
Each of these options has its advantages, disadvantages, implications in terms of user permissions, network management, etc. So I recommend reading the official documentation before choosing one or the other.
Rootless mode
Rootless mode allows us to run our containers as a non-privileged user, mitigating potential vulnerabilities in both the daemon and the containers.
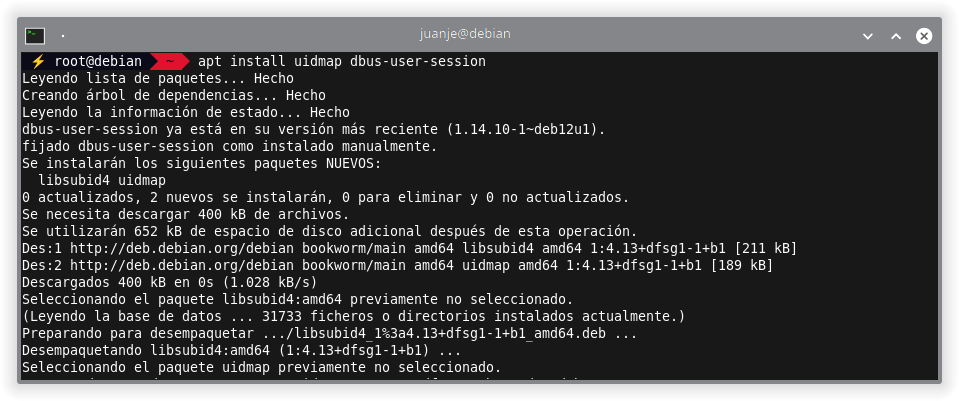
We start by installing the uidmap package, which will provide us with the newuidmap and newgidmap commands. We should also include the dbus-user-session package, although in my experience, it was already present even in minimal Debian installations:
su -

apt install uidmap dbus-user-session
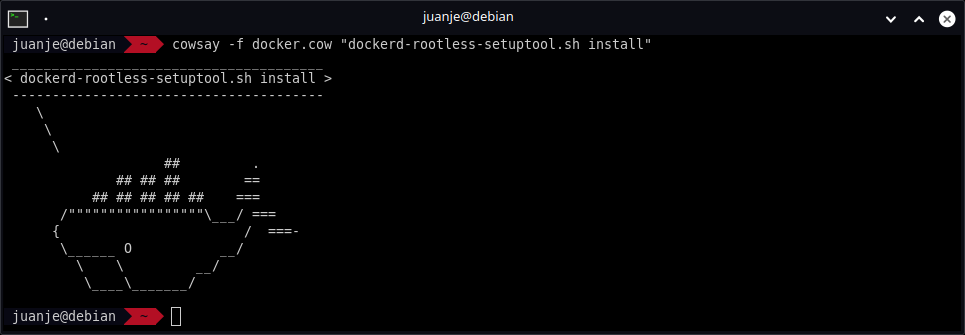
Once these two packages are installed, we exit the root session and run the script that will prepare Docker to be used in rootless mode. This script will be located at /usr/bin/dockerd-rootless-setuptool.sh, so we should have it available without specifying its full path (since /usr/bin is in the default PATH).
exit # Exit the root session

dockerd-rootless-setuptool.sh install
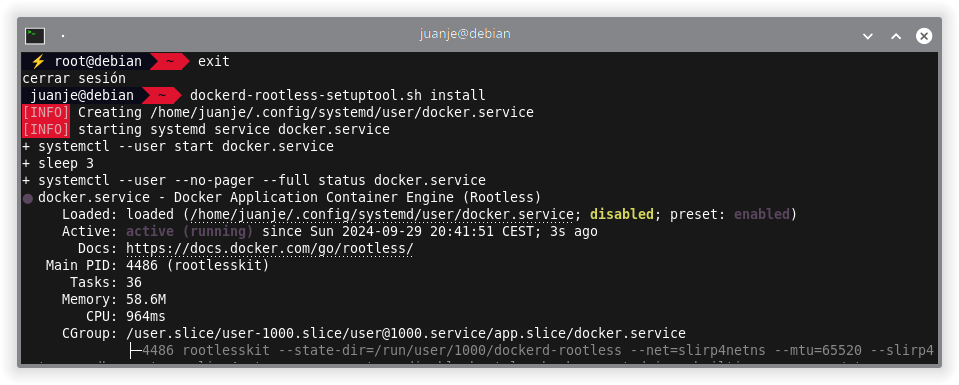
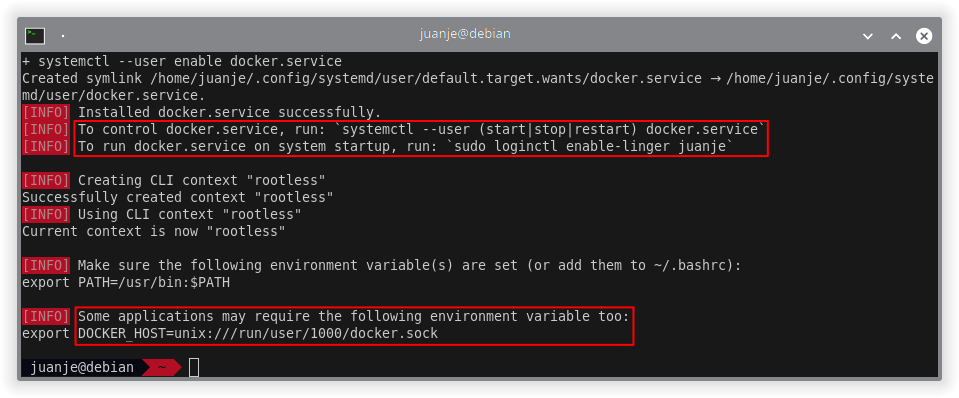
After the installation completes, we are given several things to keep in mind, including a couple of steps necessary for the correct operation of rootless mode:
-
Add the
DOCKER_HOSTvariable at the end of~/.bashrc:echo '# Environment variable for Docker Rootless:' >> ~/.bashrc echo 'export DOCKER_HOST=unix://$XDG_RUNTIME_DIR/docker.sock' >> ~/.bashrcRe-execute bash so that changes take effect immediately:
exec bash

echo $DOCKER_HOST
-
Enable autostart of the Docker service in rootless mode, we will have to do it as
root:su - loginctl enable-linger <user>If we want to disable it for any reason:
su -

loginctl disable-linger <user>
We must replace
<user>with our username.
-
In order to control the Docker service in rootless mode we will use the following commands, from our non-root user:
systemctl --user status docker

systemctl --user start docker

systemctl --user stop docker

systemctl --user restart docker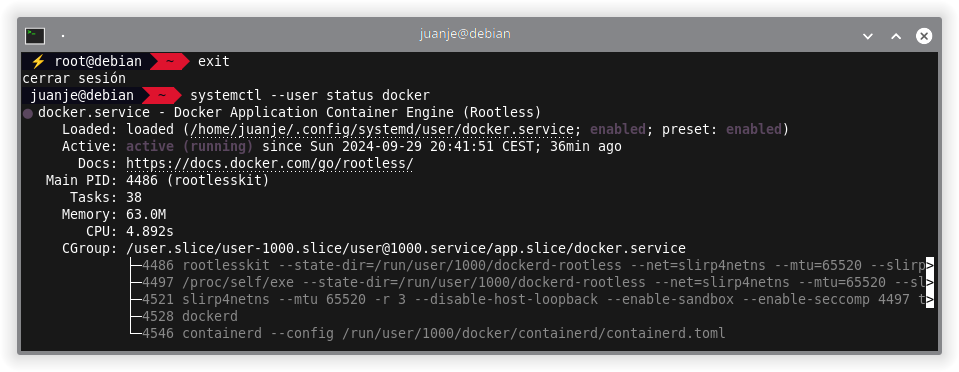
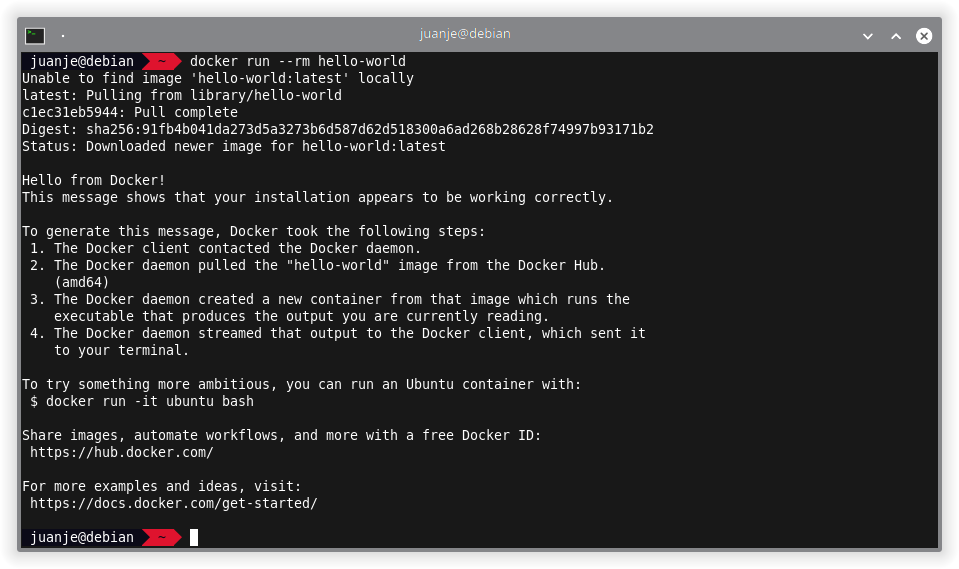
Checking Docker installation
We can try to run the hello-world container from our non-root user:
docker run --rm hello-world
After checking the container execution, we can delete the downloaded image:
docker rmi hello-world

Checking Docker Compose installation
To check if Docker Compose also works in rootless mode (it should not fail if docker run has worked), we can create a compose.yaml or docker-compose.yaml file:
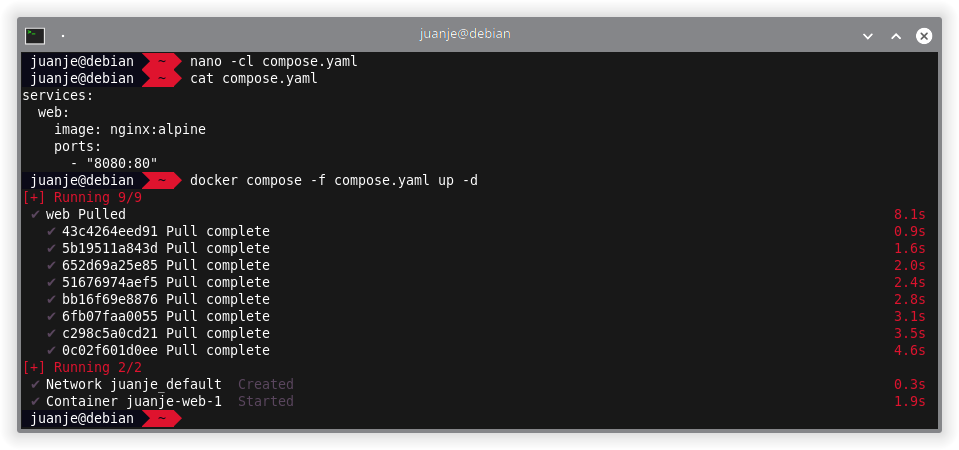
nano -cl compose.yaml
And add the following content:
services:
  web:
    image: nginx:alpine
    ports:
      - "8080:80"
In the latest Docker Compose versions, the version attribute should not be included, it is considered obsolete and if we include it, we will get a warning.
After creating the file, we start up the compose stack:
docker compose -f compose.yaml up -d
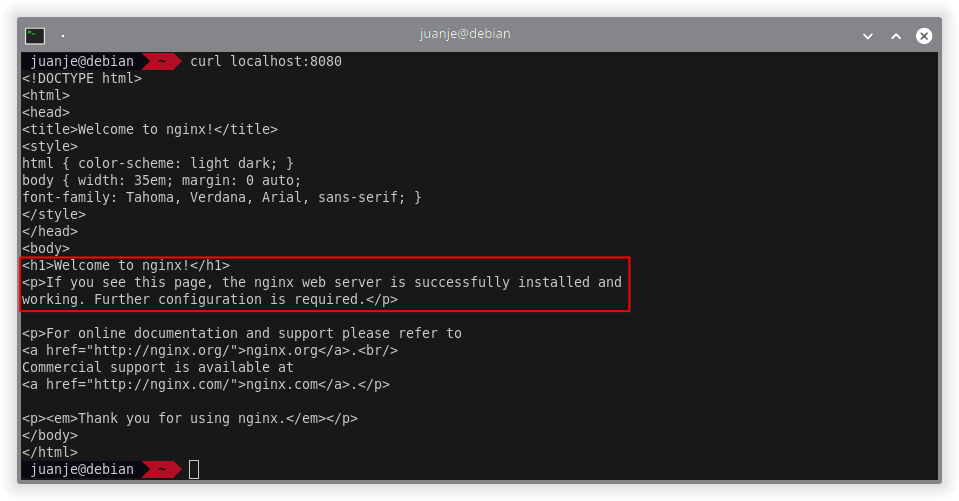
Verify that nginx is working correctly:
curl localhost:8080
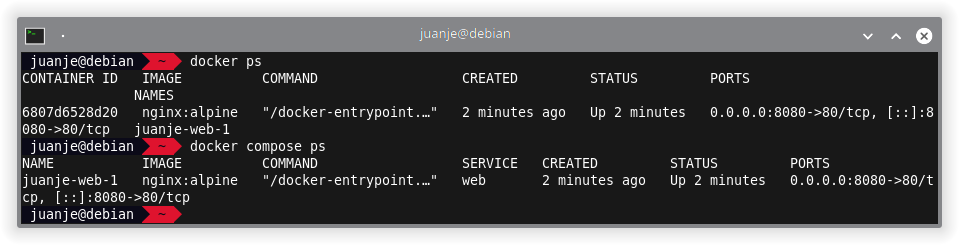
To see information about the containers we have running:
docker ps
Or, to see only the containers we have started with the compose file located in the current path:
docker compose ps
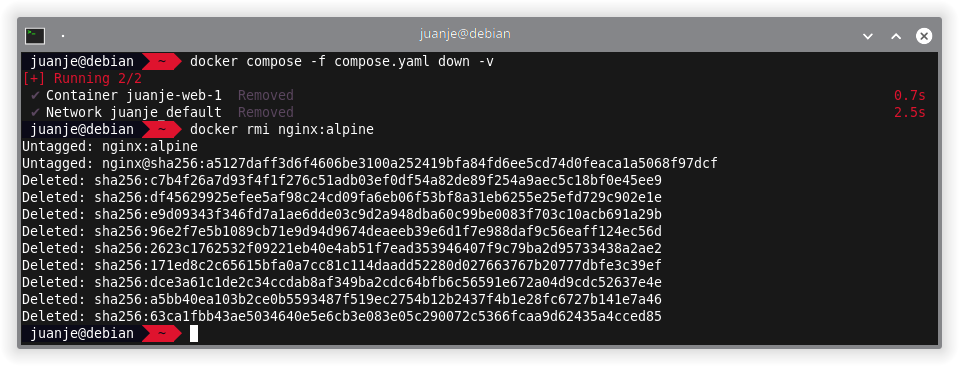
To stop and remove created containers (and volumes):
docker compose -f compose.yaml down -v
We also delete the nginx image we downloaded:
docker rmi nginx:alpine
Wrapping up
Shortly after publishing the previous post in which I explained the installation using the packages available in the Debian repositories, I realized that this was not the recommended method according to the official Docker documentation.
Therefore, now that I am writing again, I wanted to start by fixing that mistake and providing a proper guide following the official documentation.
I use these types of posts as quick and easy to locate documentation, and at the same time, share them with you in case it is useful.
If you plan to use Docker in a production environment, it should not be necessary for me to say it, but use the official documentation and follow the security recommendations indicated there, not someone’s blog on the Internet.
✒️ Documentation written by Juan Jesús Alejo Sillero.