This post covers the installation and configuration of Docker and Docker Compose so that we can carry out our tests and projects comfortably using containers.
The general steps are compatible almost in their entirety with any Linux distribution, but here I will focus on the instructions for Debian, also applicable to its derivatives such as Ubuntu, Linux Mint, etc.
If you use another distribution, you will have to modify the apt commands to fit your package manager.
⚠️ DISCLAIMER: Please note that this article is a manual translation of the Spanish version. The screenshots may have been originally taken in Spanish, and some words/names may not match completely. If you find any errors, please report them to the author. ⚠️
Requirements
- 64 bits Debian (or derivatives).
aptas the package manager in your system. As I said earlier, if you use another distribution, you will have to modify theaptcommands to fit your package manager.- Being able to run commands as
root(either asrootuser directly, or withsudoordoas). In my case I will do it asroot(usingsu).
Things to keep in mind
-
If you use
ufworfirewalldto manage firewall settings, be aware that when you expose container ports using Docker, these ports bypass your firewall rules. For more information, refer to Docker and ufw. -
In this post I will use the Docker and Docker Compose builds available in the official Debian repositories. If you want to use the official Docker builds, check its documentation.
Docker and Docker Compose installation
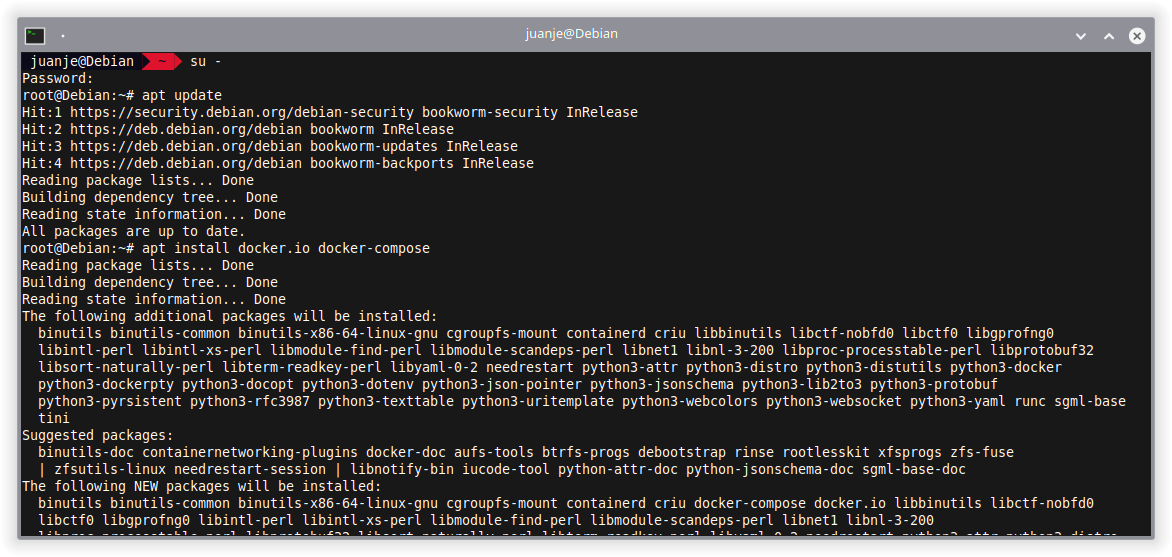
Installation is pretty straightforward, we open a terminal, log in as root, update the package list from the repositories and install the two we need:
su -

apt update

apt install docker.io docker-compose
Once the install process is finished, we will have Docker and Docker Compose available for use.
To check Docker is working, we can use the hello-world container:
docker run hello-world
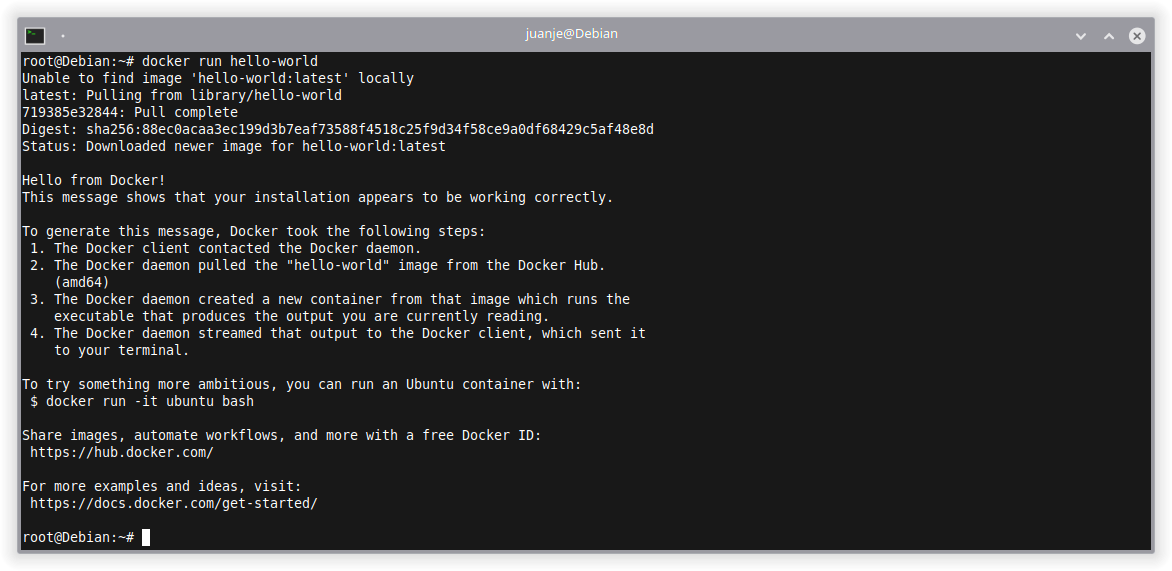
If we see the message in the previous image, Docker is working correctly.
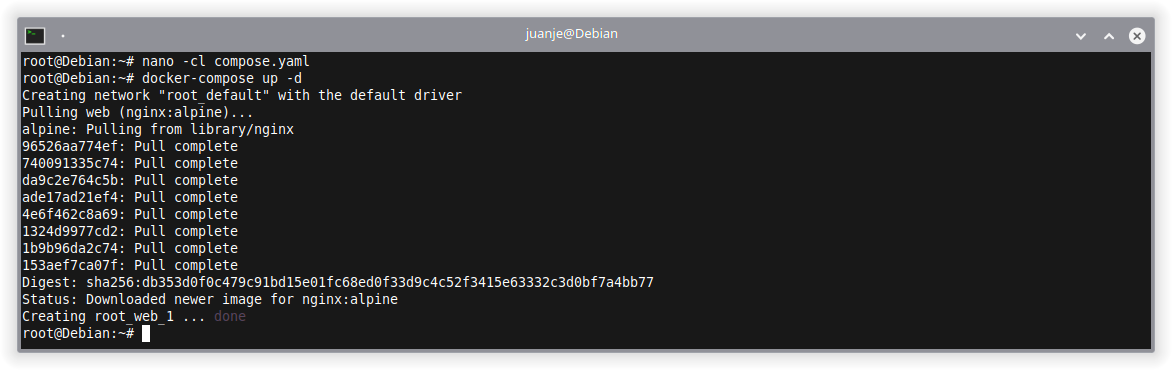
To check Docker Compose is working correctly, we can create a compose.yaml or docker-compose.yaml file:
nano -cl compose.yaml
Populate it with the following content:
version: "3"

services:
  web:
    image: nginx:alpine
    ports:
      - "8080:80"
Then, we invoke Docker Compose to create the scenario declared in the file:
docker-compose up -d
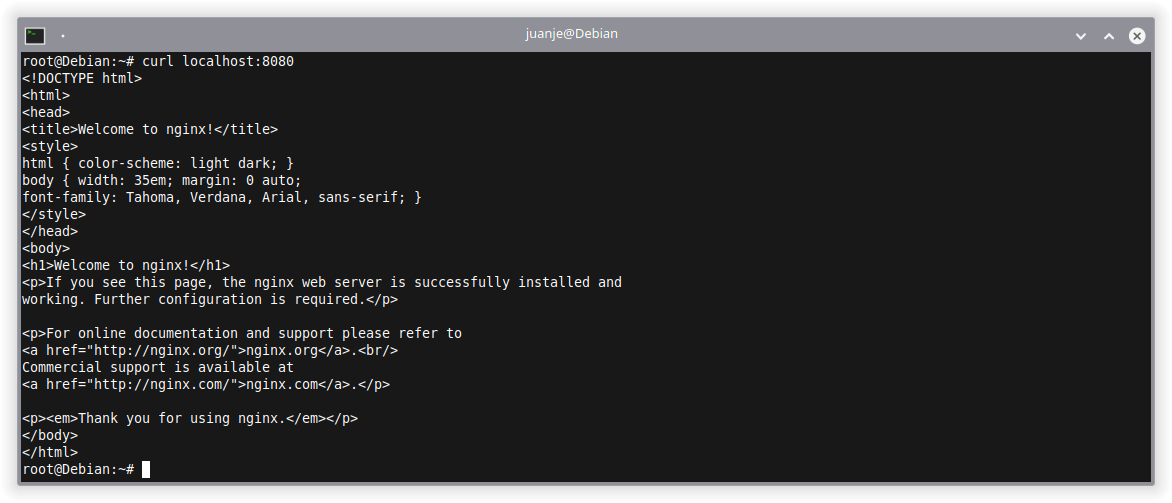
We can verify that nginx is working as it should with curl:
curl localhost:8080
To get information about running containers, we can use:
docker ps

docker-compose ps

Now that we are sure both Docker and Docker Compose are working correctly, we can stop and remove the containers:
docker-compose down

Run Docker without root
By default, Docker can only be run as root, but in some cases running Docker as a unprivileged user can be useful.
In case you want to do this, there are 2 options, one simpler and one more secure.
Via the docker group
To add the user to the docker group, follow the steps below (replace <user> with your username):
⚠️ If we choose this option we will be granting root-level privileges to the user, For details on how this impacts security in your system, see: Docker security | Docker Docs. ⚠️
su -

usermod -aG docker <user>

exit

Then, we will have to log out and log back in for the changes to take effect.
Alternatively, we can run the following command to log in to the new group without logging out of the current session:
newgrp docker
In either case, in the end, the result will be the same, the user will be able to run Docker without the need for sudo (or doas):
docker run hello-world

If at some point we want to remove our user from the group, we can do so with:
su -

gpasswd -d <user> docker
Rootless mode
Rootless allows us to run the Docker daemon and our containers as an unprivileged user, mitigating potential vulnerabilities in both the daemon and the containers.
For more information and steps to follow, please refer to the official documentation.
Conclusion
For the last two years I have been using Docker, Docker Compose, Kubernetes, Vagrant and Ansible for my projects, and I am very happy with such tools. They have allowed me to setup development and testing environments very comfortably, saving me time and headaches.
Regarding Kubernetes, Vagrant and Ansible, I will write about them in incoming posts. Once I do, I will add their links here.
✒️ Documentation written by Juan Jesús Alejo Sillero.