This time we are going to explore how to improve our workflow in Bash by installing and configuring a series of tools.
The general steps are compatible almost in their entirety with any Linux distribution, but here I will focus on the instructions for Debian, also applicable to its derivatives such as Ubuntu, Linux Mint, etc.
If you use another distribution, you will have to modify the apt commands to fit your package manager.
⚠️ DISCLAIMER: Please note that this article is a manual translation of the Spanish version. The screenshots may have been originally taken in Spanish, and some words/names may not match completely. If you find any errors, please report them to the author. ⚠️
Requirements
- Bash. It usually comes bundled with your distribution.
aptas the package manager in your system. As I said earlier, if you use another distribution, you will have to modify theaptcommands to fit your package manager.curlandgitinstalled.- Being able to run commands as
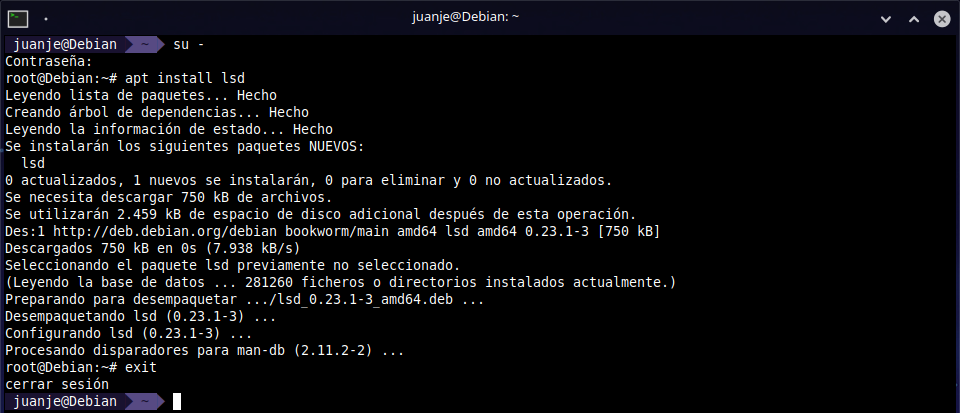
root(either asrootuser directly, or withsudoordoas). In my case I will do it asroot(usingsu).
Nerd Fonts
If we are connected via SSH, the rendering of the icons will depend on our SSH client, so installing the fonts on the server will not be needed, but on the computer from which we connect. This is the only exception, the rest of the utilities in the post should be installed on the server.
The first step is downloading and installing the fonts from nerd-fonts to be able to show special icons and make the prompt look good. For this guide I will use the Noto modification:
mkdir patched-fonts

cd patched-fonts

curl -OL https://github.com/ryanoasis/nerd-fonts/releases/latest/download/Noto.tar.xz

tar -xf Noto.tar.xz --one-top-level
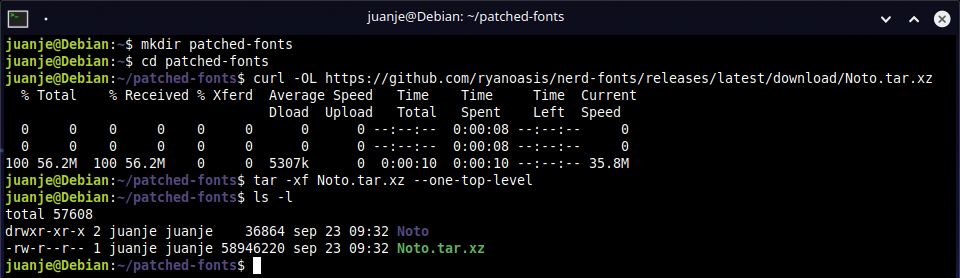
If we want any other font, we can look for it in the GitHub repository releases and replace its link. It is highly recommended to use the .tar.xz versions due to the difference in file size compared to the .zip versions.
After downloading and uncompressing the font/s, we prepare and run the installation script:
cd ..

curl -OL https://raw.githubusercontent.com/ryanoasis/nerd-fonts/master/install.sh

chmod +x install.sh

Now we get to choose:
-
Option A: System-wide installation:
su ./install.sh -S exit -
Option B: Installation for the current user:
./install.sh
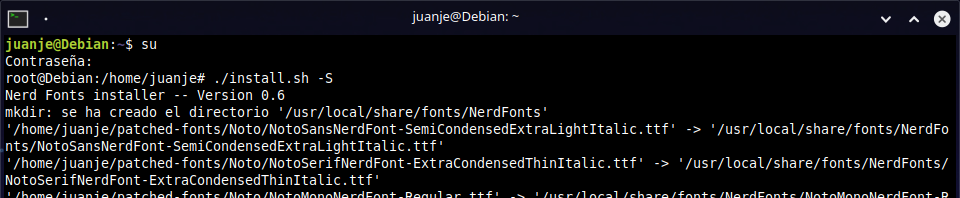
After choosing and following one of the two options, the script will take care of doing everything for us. It is not hard to manually create the directories and copy the files, but since the contributors of Nerd Fonts have gone the extra mile to create a script that works so well, we might as well take advantage of it.
With the fonts installed, we must select them in our desktop environment settings, terminal emulator or tty. I will leave to you the configuration of each one since it is not in the scope of this guide.
To check that it has worked, we can run the following command:
echo $'\uf115'

It should show us the icon of a folder, if not, we can try restarting the session or the system to apply the changes.
At this point, its safe to delete the script and the patched-fonts folder we created:
rm -rf patched-fonts install.sh
Oh My Bash
Oh My Bash is, according to its official website, an open source, community-driven framework for managing your Bash configuration. It comes bundled with a ton of helpful functions, helpers, plugins, themes, etc.
⚠️ When downloading and installing Oh My Bash with the following command, our
.bashrcfile will be renamed to something like.bashrc.omb-backup-..., the ellipsis (three dots) will actually be a set of numbers representing the exact time of the backup. ⚠️
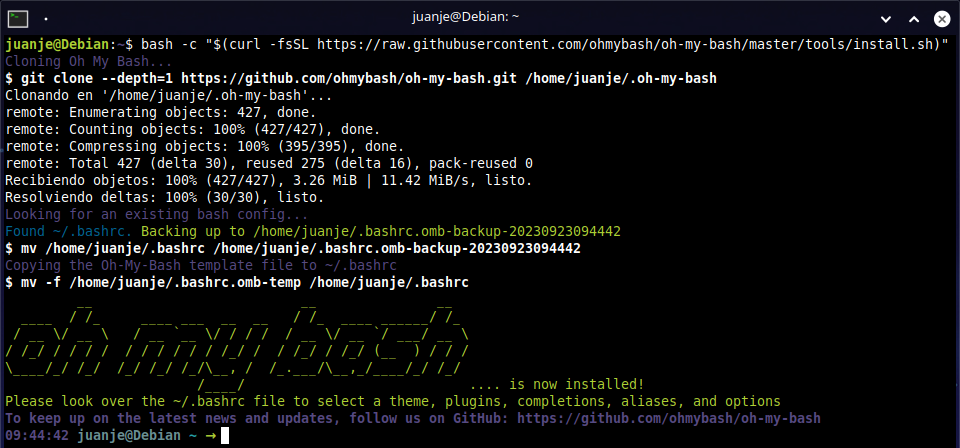
Installing Oh My Bash:
bash -c "$(curl -fsSL https://raw.githubusercontent.com/ohmybash/oh-my-bash/master/tools/install.sh)"

# Alternatively:
# bash -c "$(wget https://raw.githubusercontent.com/ohmybash/oh-my-bash/master/tools/install.sh -O -)"
After installing it, I will edit the OSH_THEME= line and put the agnoster theme, leaving it like: OSH_THEME="agnoster", we can use a text editor or better, we can use sed:
sed -i 's/^OSH_THEME=.*/OSH_THEME="agnoster"/' ~/.bashrc
All the available themes can be found at: Themes · ohmybash/oh-my-bash Wiki.
We run bash again to see the changes:
exec bash

To finish with Oh My Bash, we must check the differences between the current .bashrc and the backup of our original file, choosing the lines we want to keep. Remember to replace the name of the .bashrc.omb-backup-... file in the commands.
First, we make a backup of the current .bashrc file:
cp ~/.bashrc ~/.bashrc.old
Now, before finishing with OMB I would like to keep certain configurations that I had for bash, so I will dump the original .bashrc over the new one created by OMB. I have added the # signs as a separator to make it easier to locate where one file ends and the other begins:
{ echo -e "\n# oh-my-bash .bashrc above\n\n###########################\n\n# original .bashrc below\n"; cat .bashrc.omb-backup-...; } >> ~/.bashrc

Finally, we would have to review the resulting .bashrc file to delete the lines we don’t want and restart bash, or alternatively log out and log back in:
nano -cl ~/.bashrc

exec bash
And we should end up with a terminal similar to this one:
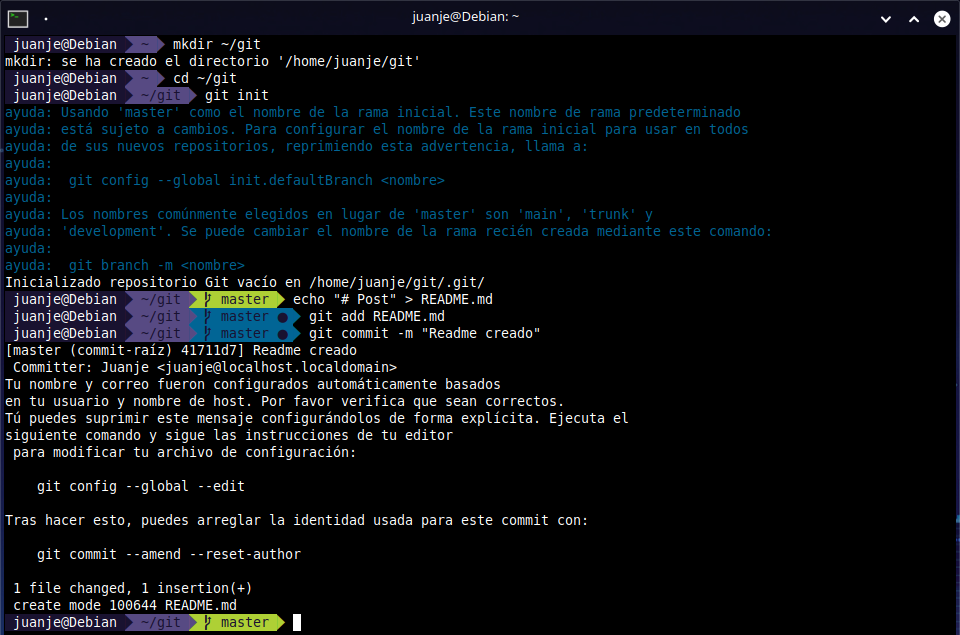
In addition, we not just have a prettier prompt, but we also have access to several quality of life improvements, such as indications when running mv or cp, if we have a command in progress and we press the up key, it will complete it with the last command that matches what we have written:

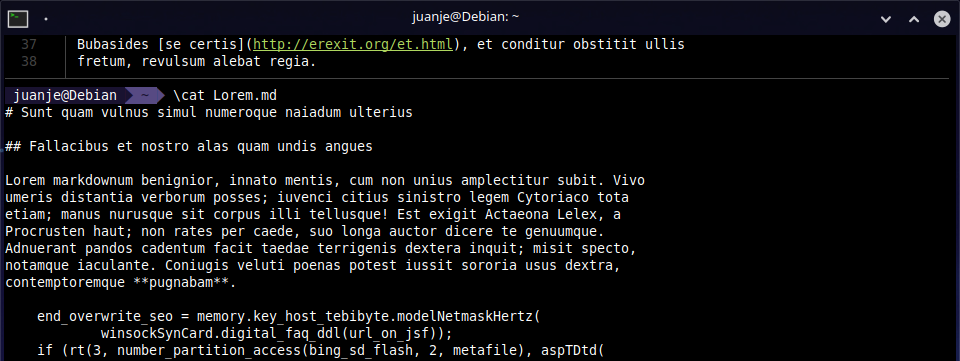
bat
As stated in its GitHub, bat is a cat clone with syntax highlighting and Git integration.
Installing bat:
apt install bat
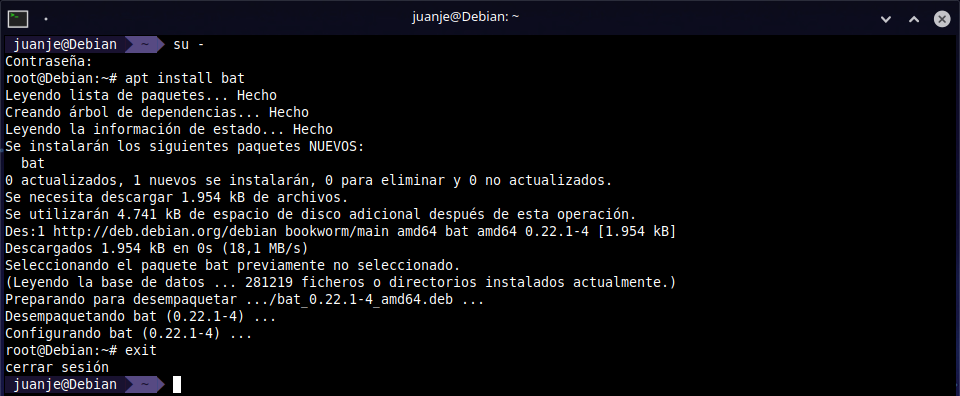
To run bat in Debian and derivative distributions, we must use the batcat command due to conflicts in the name of its files with another package.
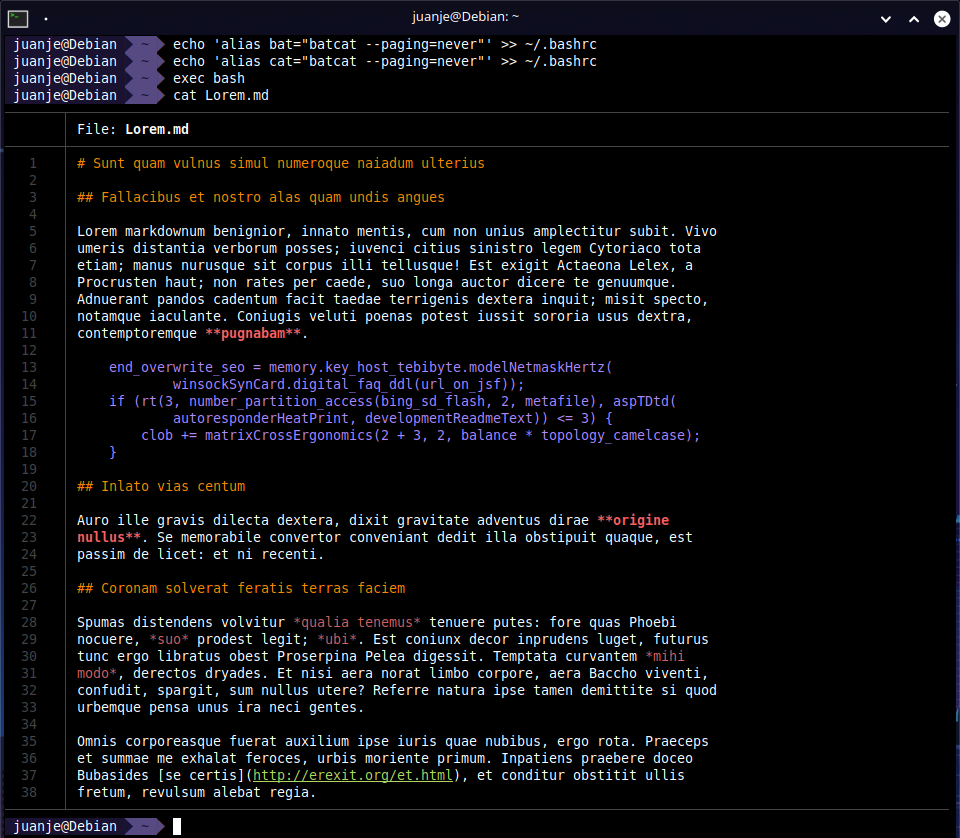
To be able to run it with the bat command, we can add this alias to our .bashrc or, to .bash_aliases if we use it:
echo 'alias bat="batcat --paging=never"' >> ~/.bashrc
The --paging=never option tells bat not to use pagination, mimicking cat’s default behavior. If you want to see it in action, try running these two commands, the first one uses pagination and the second one doesn’t:
man man

man man | batcat --paging=never
We could also add an alias for cat, this way, we won’t have to work against our muscle memory. In the tests I have done, bat seems to be able to detect that its output is being redirected to a file, so we can be sure that it will not interfere with scripts or commands that depend on the cat binary:
echo 'alias cat="batcat --paging=never"' >> ~/.bashrc
After adding the aliases, we restart bash to activate the changes in the configurations:
exec bash
🗒 If we ever want to run the original
catcommand, we can do it by writing the full path to the binary or by adding a backslash (\) before:/usr/bin/cat fichero.txt \cat fichero.txt
fd
fd is an alternative to find with a more intuitive syntax, faster, with colors by default to make reading the output easier, supports parallel execution of commands on each result or in batch, “smart” case detection, etc. For a complete list of its features: https://github.com/sharkdp/fd#features.
In addition, by installing it, fzf (utility that we will install later), will be able to use it when searching for files.
Installing fd:
apt install fd-find
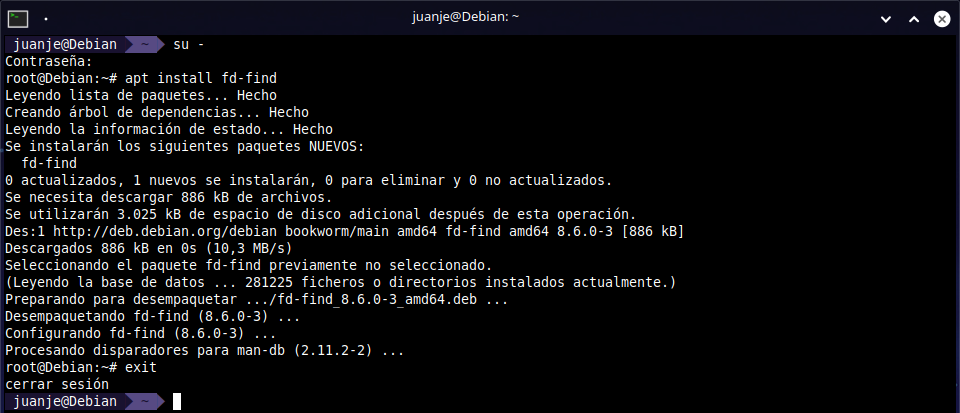
Similar to what happened with bat and batcat, the command to invoke fd is fdfind.
Instead of an alias, this time we can create a symbolic link and include the directory where we will place the link in our $PATH variable.
By default, in Debian when logging in, if the ~/.local/bin directory exists, it will be automatically added to $PATH. This behavior is configured in the ~/.profile file, in case you want to take a look. To create the symbolic link:
mkdir -p ~/.local/bin

ln -s $(which fdfind) ~/.local/bin/fd

Now we force the rereading of the file and we can check how the path appears in our $PATH:
source ~/.profile

echo $PATH | grep $HOME/.local/bin

If it doesn’t appear, we must add the following to our ~/.profile and force its rereading:
# Set $PATH so it includes user's private bin directory if it exists
if [ -d "$HOME/.local/bin" ] ; then
    PATH="$HOME/.local/bin:$PATH"
fi
🗒 Although in Debian this doesn’t happen, depending on our distribution, the
~/.profilefile may not be being read, in this case, we can add the previous code directly to our.bashrc.
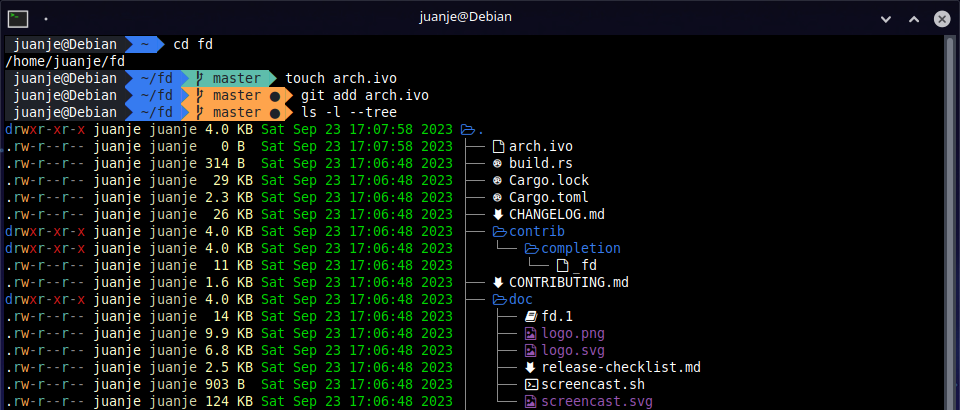
After setting up fd as I have shown, we will be able to invoke it and get an output like this:

If we want to search also for the hidden files or those included in a .gitignore we will use the -H and -I flags respectively:

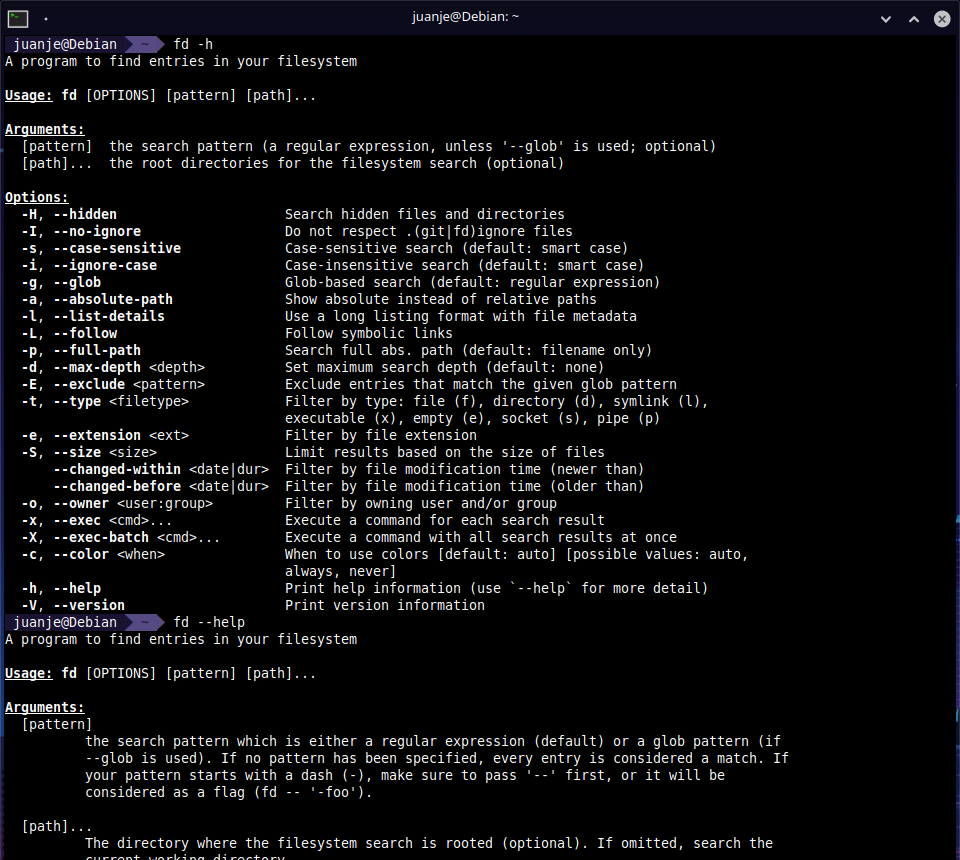
To check all the available options we can use:
fd -h # For a concise list of options

fd --help # For a complete list of options
fzf
fzf is a fuzzy finder for the command line that will allow us to search in the command history, in the files of a directory, in the running processes, etc.
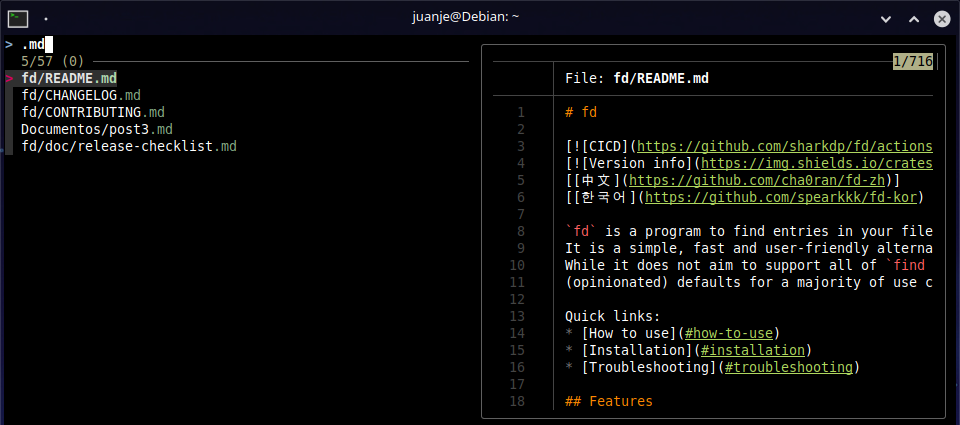
And what is a fuzzy finder? Well, a finder that shows results that don’t have to 100% match what we searched for, useful for example if we don’t remember the exact name of what we want to find. E.g.:

When searching for post.md it shows us results that do not exactly match what we searched for, but that are similar, helping us to find the post3.md file.
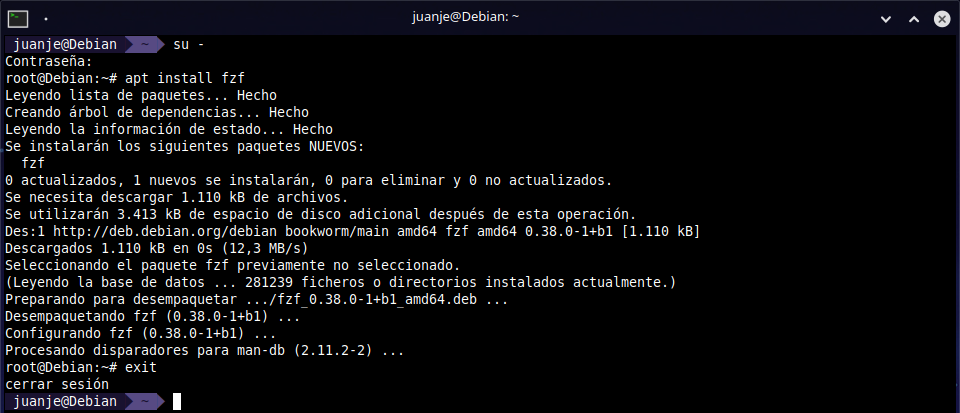
Installing fzf:
apt install fzf
After installing it, the keyboard shortcuts to use it will not work, if we check the package information, it will tell us what to do:
apt show fzf
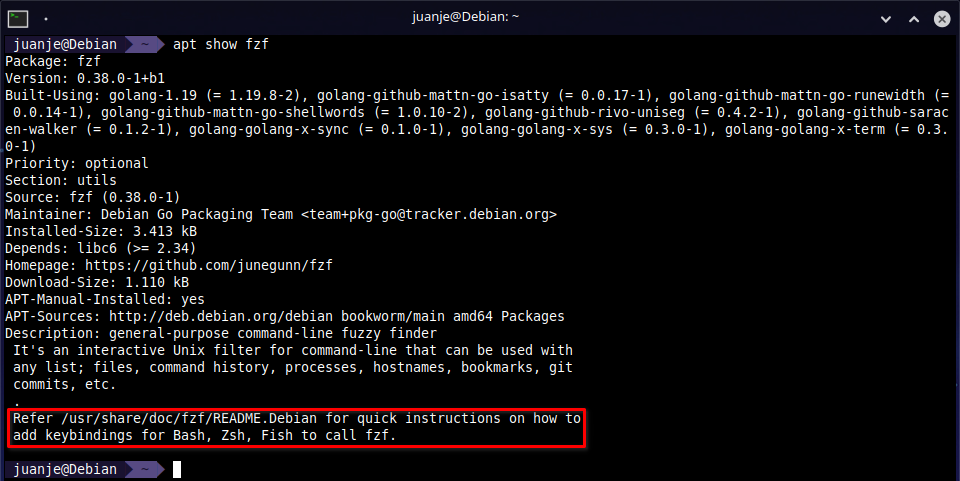
And if we read that file, we will get the instructions to configure it:
cat /usr/share/doc/fzf/README.Debian
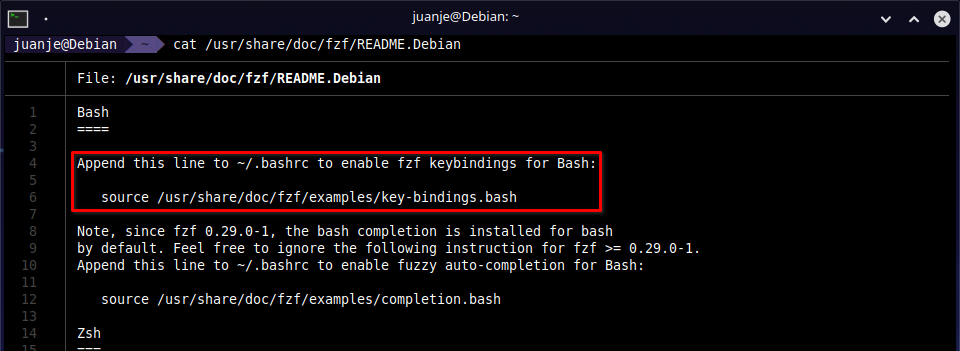
So, following the instructions, we add the necessary lines to the .bashrc for its correct operation:
nano -cl ~/.bashrc
Lines to add:
source /usr/share/doc/fzf/examples/key-bindings.bash
FZF_DEFAULT_OPTS="--reverse --preview 'batcat --color=always {}'"
FZF_DEFAULT_COMMAND="fd -HI --type f"
And we restart bash to activate the changes:
exec bash
Actually, only source ... is needed, but since we have previously installed bat and fd, we can use them so that fzf shows a preview of the results and searches with fd instead of find. For more information on how to edit the options FZF_DEFAULT_OPTS, FZF_DEFAULT_COMMAND, and all others, we can check the fzf manual pages with:
man fzf
If we press Ctrl + R, fzf will search in the command history and show us the results:

With Ctrl + T we can search for files in the current directory and subdirectories:
And with Alt + C we can cd to any subdirectory:


lsd
lsd is a rewrite of ls with lots of added features like colors, icons, tree-view, more formatting options, etc. For more information we can check its GitHub.
Installing lsd:
apt install lsd
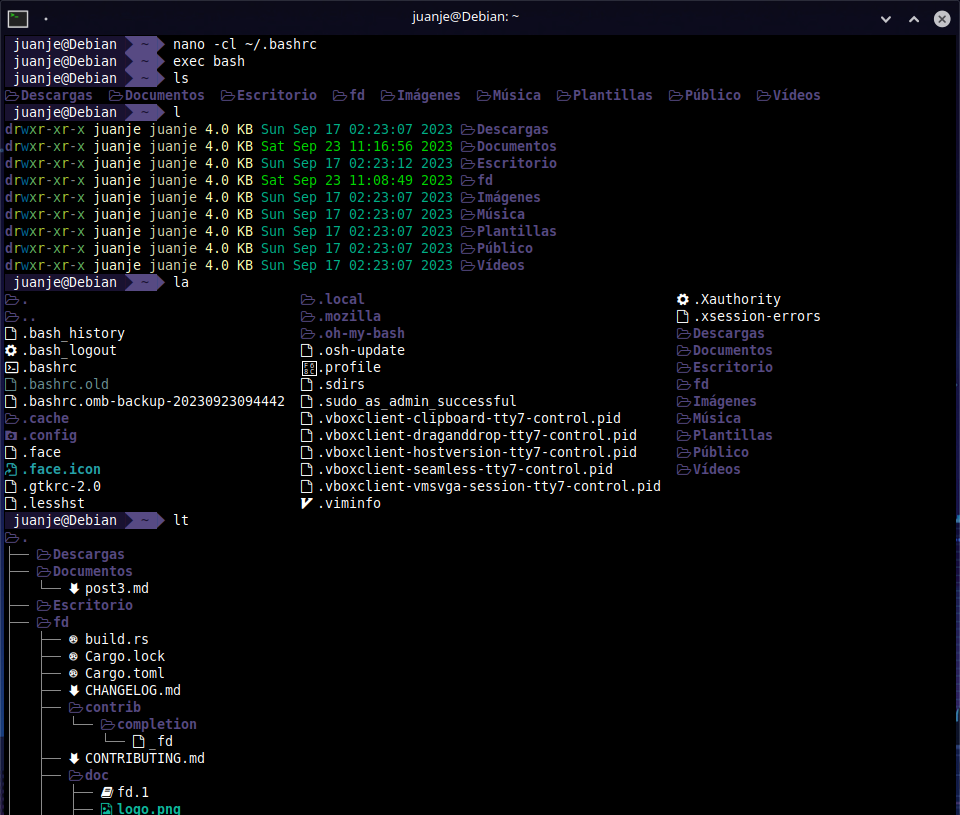
And that’s it, that simple, it accepts the same options as ls and more, so we can use it as if it were ls without problems. As recommended in the documentation, we can add some aliases for ls and use lsd by default. This are the ones I am using:
alias ls='lsd'
alias l='lsd -l'
alias la='lsd -a'
alias lla='lsd -la'
alias lt='lsd --tree'
alias llt='lsd -l --tree'
alias llat='lsd -la --tree'
And we restart bash to activate the changes:
exec bash
Extra: Aliases for the
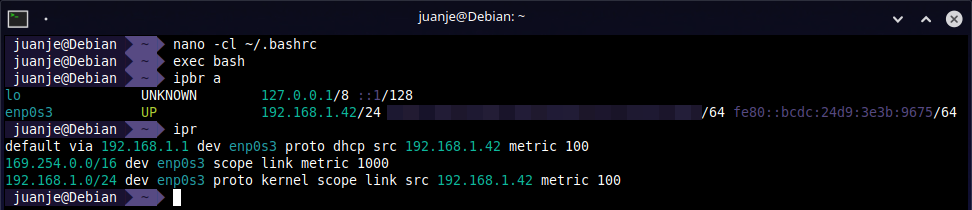
Since the post is about installing tools and configuring aliases, I take the opportunity to show you the aliases I use for the ip command:
alias ip='ip -c'
alias ipa='ip -c a'
alias ipr='ip -c r'
alias ipbr='ip -c -br'
We restart bash to activate the aliases:
exec bash
Conclusion
I wrote this post since after several years using zsh on my personal computers, on my VPS I have decided to stay on bash for various reasons that I will not state here. After a few days, I missed some of the tools I usually use, so I decided to install them and take the opportunity to write it down.
Among all the tools shown, my favorite is fzf, it is worth installing just for the command history search alone. I invite you to take a look at the documentation of each of the tools in the post, you will surely find more information that will be interesting and very useful.
✒️ Documentation written by Juan Jesús Alejo Sillero.